# Visual Studio Code
# 基础知识
# vscode 折叠展开全部代码快捷键
折叠:Ctrl/Command + k + 0,这里 0 代表折叠第 1 层,1 代表第 2 层,依次类推。比如在 vue 文件中,method 属于第 3 层,就可以设置 Ctrl/Command + k + 3 进行折叠。
展开:Ctrl/Command + k + j
# 用户自定义代码片段
# mac 使用 code 命令打开 VSCode
我们在 mac 的终端可以使用 open .打开文件夹 如果我们想用 vs-code 打开文件夹,用的命令是 code .,不过你得先按照 code 安装 code:打开 VSCode –> command+shift+p –> 输入 shell command –> 点击提示 Shell Command: Install ‘code’ command in PATH 运行 使用:打开终端,cd 到要用 VSCode 打开的文件夹,然后输入命令 code .即可打开
# 换行
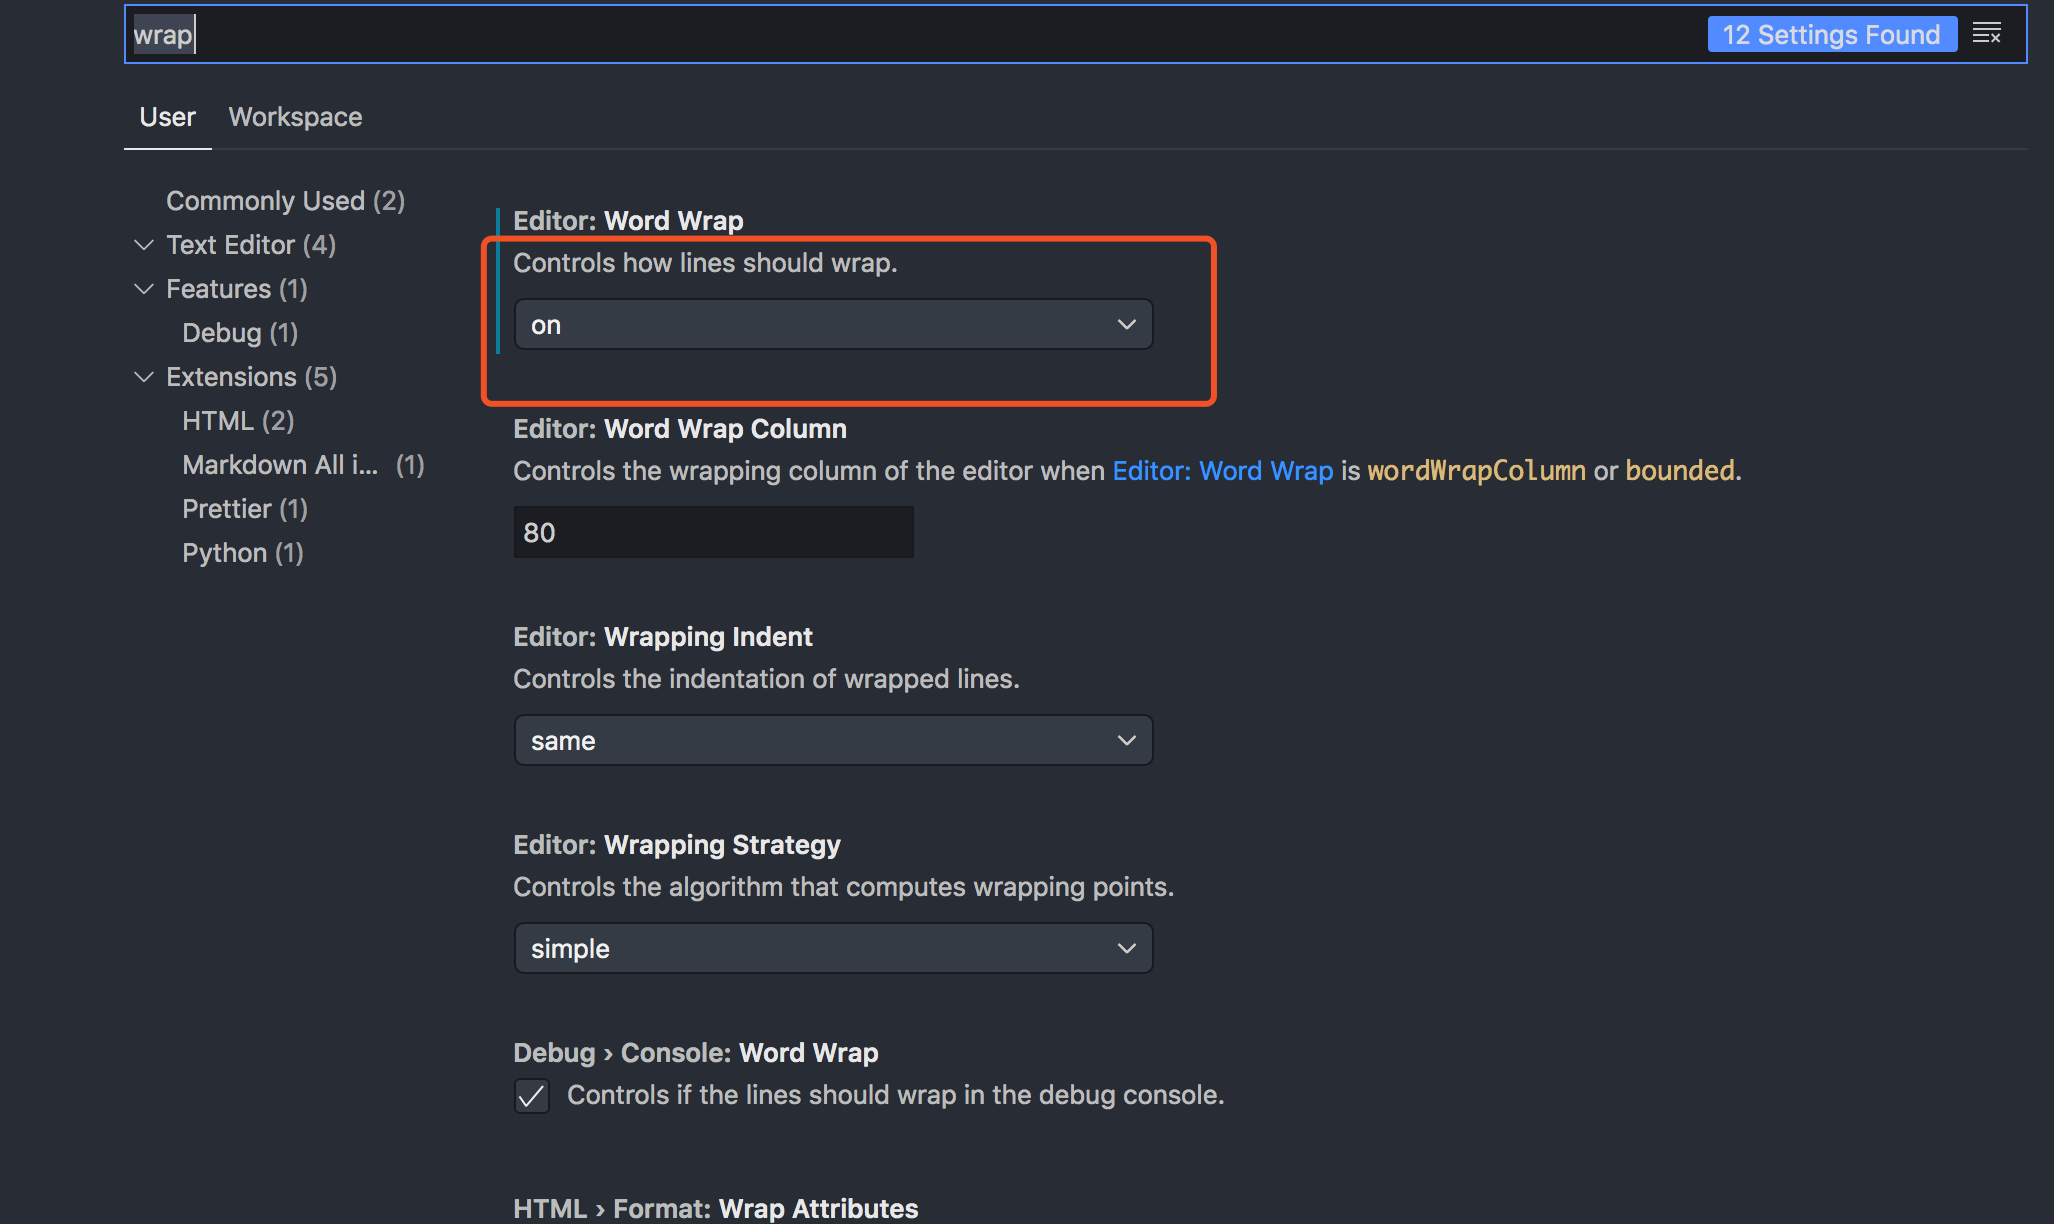
setting -》wrap
# 使用 vscode 调试代码
针对 vscode 版本:version: 1.42.1
# 调试 Node.js
Vscode 内置 Node 的调试环境,就不需要安装插件了,先建立一个名为 node.js 的文件,然后在 launch.json 里添加配置
launch 模式与 attach 模式
{
  // Use IntelliSense to learn about possible attributes.
  // Hover to view descriptions of existing attributes.
  // For more information, visit: https://go.microsoft.com/fwlink/?linkid=830387
  "version": "0.2.0",
  "configurations": [
    {
      "type": "node",
      "request": "launch",
      "name": "Launch Program",
      "skipFiles": ["<node_internals>/**"],
      "program": "${workspaceFolder}/examples/regex/demo01.js" // // 程序入口 ${workspaceFolder} 代表根路径
    },
    {
      "type": "node",
      "request": "attach",
      "name": "attach 程序",
      "address": "localhost",
      "port": 3000
    }
  ]
}
2
3
4
5
6
7
8
9
10
11
12
13
14
15
16
17
18
19
20
21
22
配置完成后,在调试面板上,启动选项切换成 Launch Node,然后启动就可以了,断点调试什么都是没问题的。
# 调试启动服务器的 node.js 后端程序
{
  // Use IntelliSense to learn about possible attributes.
  // Hover to view descriptions of existing attributes.
  // For more information, visit: https://go.microsoft.com/fwlink/?linkid=830387
  "version": "0.2.0",
  "configurations": [
    {
      "console": "integratedTerminal",
      "internalConsoleOptions": "neverOpen",
      "name": "nodemon",
      "program": "${workspaceFolder}/server.js",
      "request": "launch",
      "restart": true,
      "runtimeExecutable": "${workspaceFolder}/node_modules/nodemon/bin/nodemon.js",
      "skipFiles": ["<node_internals>/**"],
      "type": "pwa-node"
    }
  ]
}
2
3
4
5
6
7
8
9
10
11
12
13
14
15
16
17
18
19
这里设置 runtimeExecutable 运行时参数,使用 nodemon 启动 以 program 设置的入口参数程序。
同样,也可以按照这种思路,来对 jest 单元测试进行断点调试:
{
  "name": "Debug Jest Tests",
  "type": "node",
  "request": "launch",
  "runtimeArgs": [
    "--inspect-brk",
    "${workspaceRoot}/examples/vue/simple-virtual-dom/node_modules/.bin/jest",
    "--runInBand"
  ],
  "console": "integratedTerminal",
  "internalConsoleOptions": "neverOpen",
  "port": 9229
}
2
3
4
5
6
7
8
9
10
11
12
13
# Debugger For Chrome
Vscode 里面是没有内置调试 Chrome 的模块的,需要单独安装。
先安装插件 Debugger For Chrome。
安装插件
该扩展程序可以在两种模式下运行——它可以启动一个浏览到你应用 的 chrome 实例(程序),也可以连接(attach )到正在运行的 chrome 实例(也就是你先通过 chrome 启动了 app 程序,它再链接过去)。
# 常规模式
上面两种模式都要求你从本地 web 服务器提供 web 程序,而本地服务器时从 vscode 任务或命令行启动的。使用 url 参数,你只需告诉 vscode 在 chrome 中打开或启动哪个 URL。
下面以一个例子说明:
- 任意目录下创建一个名 debug 文件夹,接着在里面分别创建 index.html,index.js 文件。
- 可以安装 live-server 插件,然后启动 live-server 服务器,对 chrome debugger 提供 web 程序。
- 然后配置 chrome debugger,打开 vscode 调试区域,然后点设置,进入了 launch.json 文件
把配置改成
"version": "0.2.0",
  "configurations": [
    {
      "type": "chrome",
      "request": "launch",
      "name": "Launch Chrome against localhost",
      "url": "http://localhost:8080",
      "webRoot": "${workspaceFolder}"
    }
  ]
}
2
3
4
5
6
7
8
9
10
11
最后,切成 Launch index.html,再点绿色 icon 或者在 index.html 目录下直接按 F5 就跑起来啦
如果启动了,ok,接着在 index.html 下引入 index.js,在 index.js 里面随便写点 js,然后重新启动。
# 调试 vue-cli 项目
 {
   "type": "chrome",
   "request": "launch",
   "name": "vuejs: chrome",
   "url": "http://localhost:9980",
   "webRoot": "${workspaceFolder}/src", // 使用 url,需要设置 webRoot 这个提供文件的目录
   "breakOnLoad": true, // 如果为真,调试适配器将尝试在加载脚本之前设置断点,以便能够在这些脚本开始时命中断点
   "sourceMapPathOverrides": { // 防止 sourceMap 没有正确生成,则使用下面右边的文件路径进行覆盖
     "webpack:///src/*": "${webRoot}/*"
   }
 },
2
3
4
5
6
7
8
9
10
11
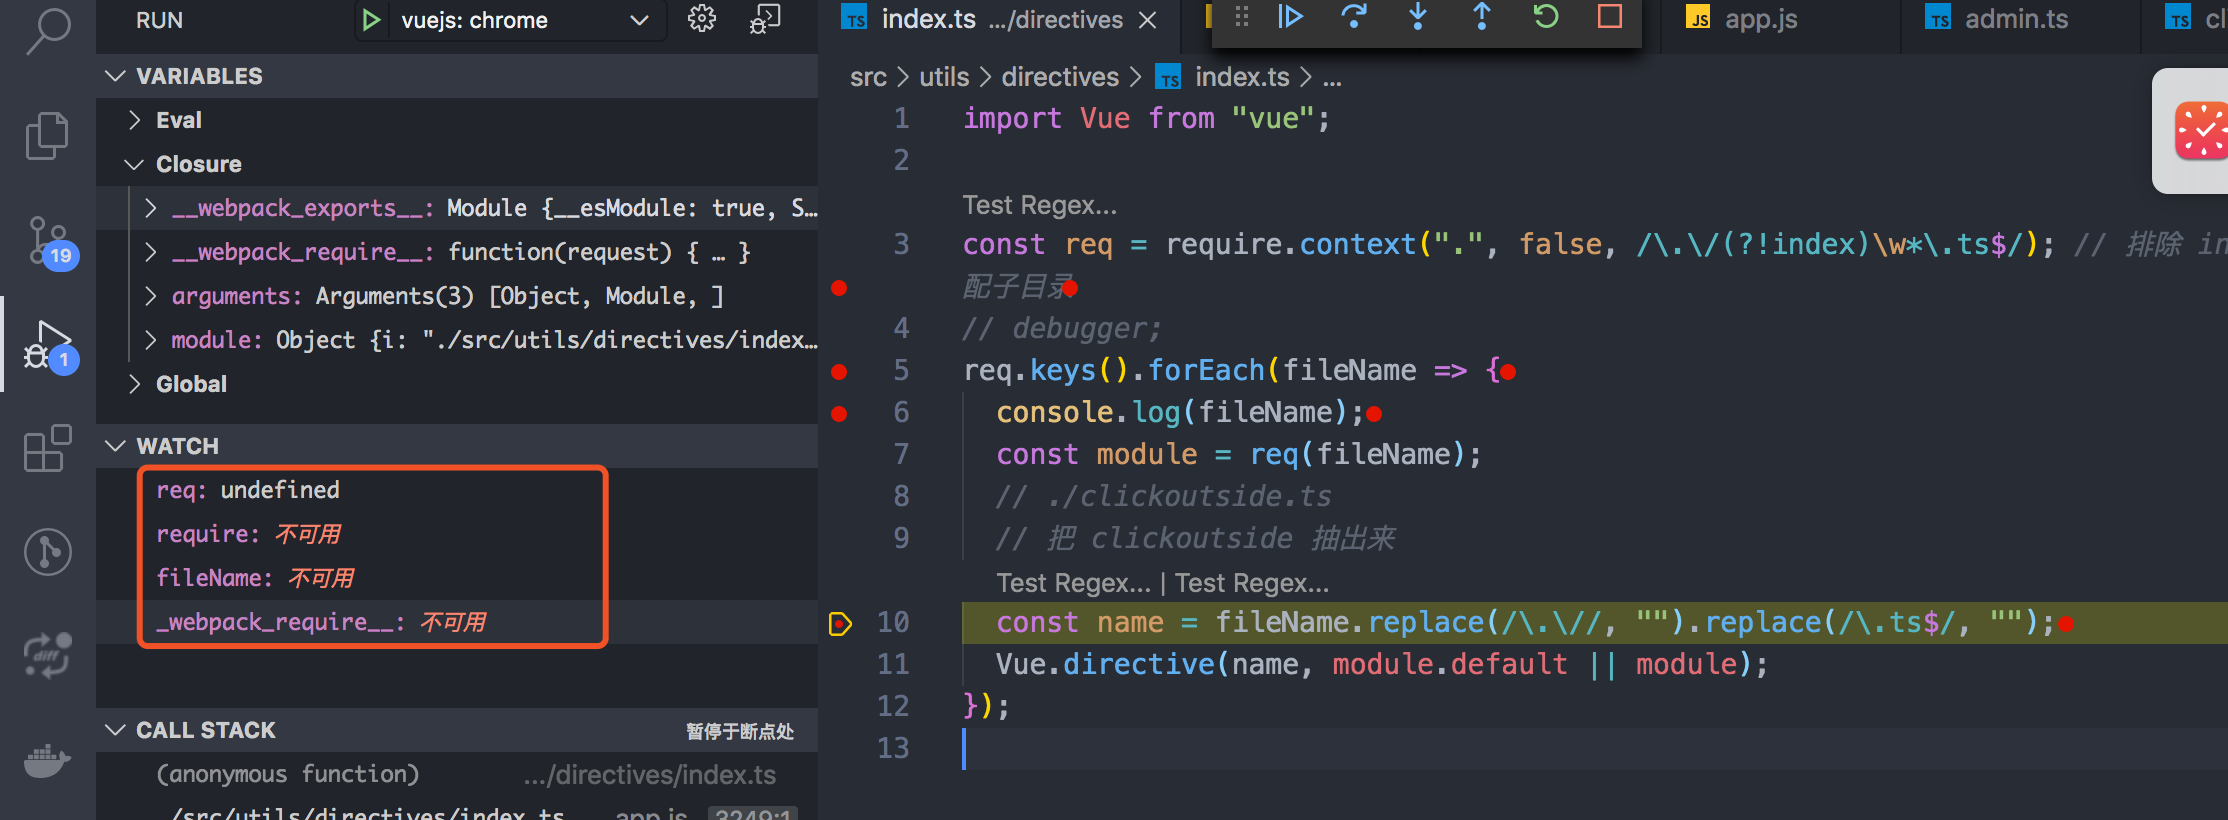
注意上面的设置是也可以直接对 webpack 的命令,无法对 require 进行 debugger 查看属性的。直接输入 debugger 是可以在 chrome 浏览器上进行查看的。具体原因待研究。

# 使用 attach 模式启动
首先用 live-server 打开 index.html,你会发现浏览器自动跳转到http://localhost:5500上了,接着到launch.json进行配置
{
  "type": "chrome",
  "request": "attach",
  "name": "Attach to Chrome",
  "port": 8080,
  "webRoot": "${workspaceFolder}"
}
2
3
4
5
6
7
如果使用 attach 附加类型配置,请确保使用 --remote-debugging-port = 9222 启动了 Chrome。 如果已经有一个正在运行的实例,请先关闭它,或参阅上面有关 --user-data-dir 的注释。
确保 port 属性与 Chrome 正在侦听远程调试连接的端口相匹配。 默认情况下为 9222。 确保没有其他端口在使用此端口,包括 Web 服务器。 如果您计算机上的其他内容响应 http:// localhost:9222,请设置其他端口。
待处理。
# 小结
当 request 为 launch 时,就是 launch 模式了,这是程序是从 vscode 这里启动的,如果是在调试那将一直处于调试的模式。而 attach 模式,是连接已经启动的服务。比如你已经在外面将项目启动,突然需要调试,不需要关掉已经启动的项目再去 vscode 中重新启动,只要以 attach 的模式启动,vscode 可以连接到已经启动的服务。当调试结束了,断开连接就好,明显比 launch 更方便一点。
用 Vscode 的 Debugger 对用框架(react,vue,ng)编写的网页调试也是一样的,方法也都差不多,例如我们就可以使用 vueCli3 来启动一个 web 程序,然后通过 chrome debugger 附加过去。
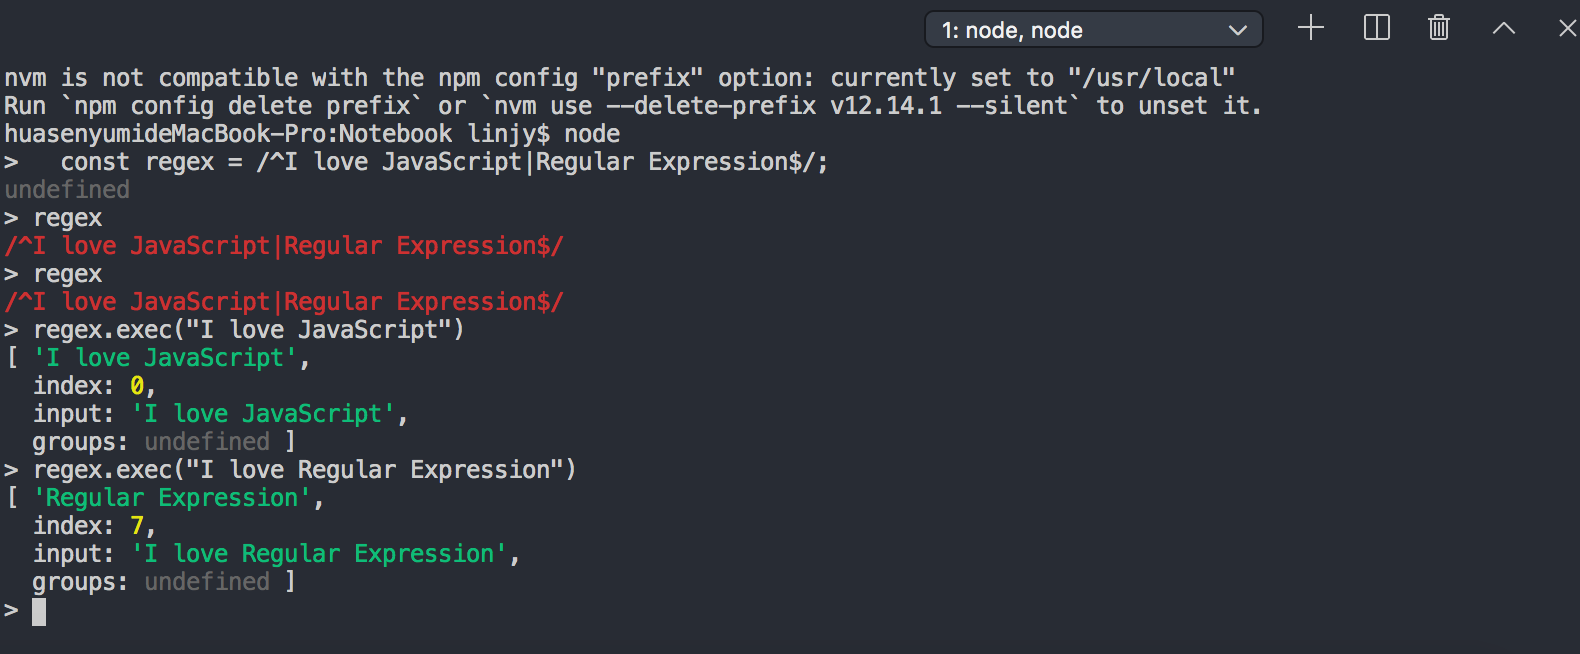
# 使用 node 命令行快速测试代码
日常开发 js 过程中,除了上面提到在 vscode 调试之外,我们可以打开命令行,进入 node 环境对快速测试代码。

当然除了 node 外,如果要测试浏览器的 api,则可以打开 chrome 的控制台进行编码快速测试。
# vscode 设置超过屏幕自动换行
请求 url,避免空格换行。

# 进阶活用
# 底层原理
- 解密 vscode 断点调试的原理 vscode 为什么可以调试 node.js,这篇文章解释得很清楚。vscode 是通过手动启动了 node.js 的 debugger 模块来实现调试的。
# vscode 插件推荐
- Markdown Paste
- (强烈推荐,在使用 vscode 中免不了使用 markdown,无论是笔记还是编写项目规范文档,而图片常常需要手动保存,而且不能粘贴。Markdown Paste 这是为解决这样的问题而出现。
- Markdown All in One
- 自动预览、大纲等等